![[LINE] トーク内容を印刷したい 【CopyTrans Contactsを試してみた(1)】](https://chiilabo.com/wp-content/uploads/2021/01/ScreenShot-2021-01-19-16.35.01-1024x663.jpg)
LINEのトーク画面を印刷して残したい。しかし、どうやってスマートフォンから印刷したらよいのでしょう。
今回は、「CopyTrans Contacts」というソフトをインストールしてみたので、レポートします。
1. CopyTrans Contacts ならLINEトークを保存・印刷できる
今回は、LINEのトーク画面を印刷するのに、CopyTrans Contacts(コピー トランス・コンタクト)というソフトを利用します。スイスのUrsa Minor社の有料ソフト(1,280円)ですが、試用版もあります。
CopyTrans Contactsは、iPhone内の連絡先やカレンダーなどのデータを、パソコンに転送・管理するためのソフトです。
連絡先データを管理する機能の一つに、LINEのトークの転送・保存があります。

保存形式には、Word、 Excel、テキスト、CSV、HTML、PDFがあります。これならパソコンから印刷できます。
iPhoneのデータ管理では、Apple社の iTunes が利用されます。
しかし、iTunes には できないデータ管理があるため、他社製のソフトがいくつか提供されています。CopyTransもそうした他社製のソフトの一つです。
1.1. CopyTrans Contacts のインストールの流れ
下準備として、まず パソコンにCopyTrans Contacts をインストールします。
ただ、CopyTrans Contacts の場合は、2段階の手順になっています。
なんですか? いきなり「CopyTrans Control Center」っていう単語が出てきたんですが……
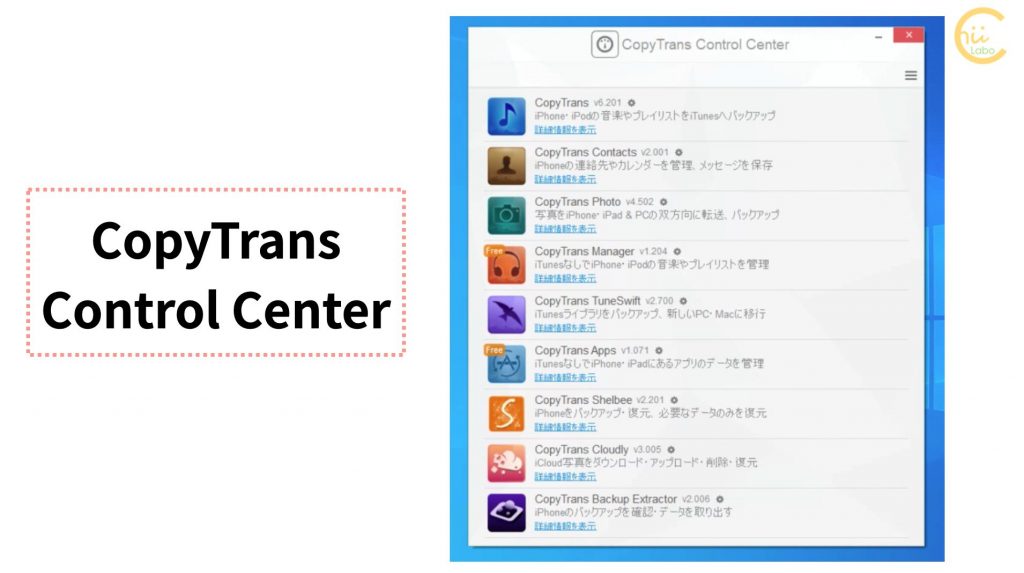
実は、CopyTrans シリーズには、いくつかの関連ソフトがあります。

それらのインストールやアップデートを管理するために「CopyTrans Control Center」というソフトがあるのです。
百聞は一見に如かず、「CopyTrans Control Center」を見てみましょう。
2. インストーラーをダウンロードする
まず、CopyTransのウェブサイト(https://www.copytrans.jp/)から「ダウンロード」を選択します。
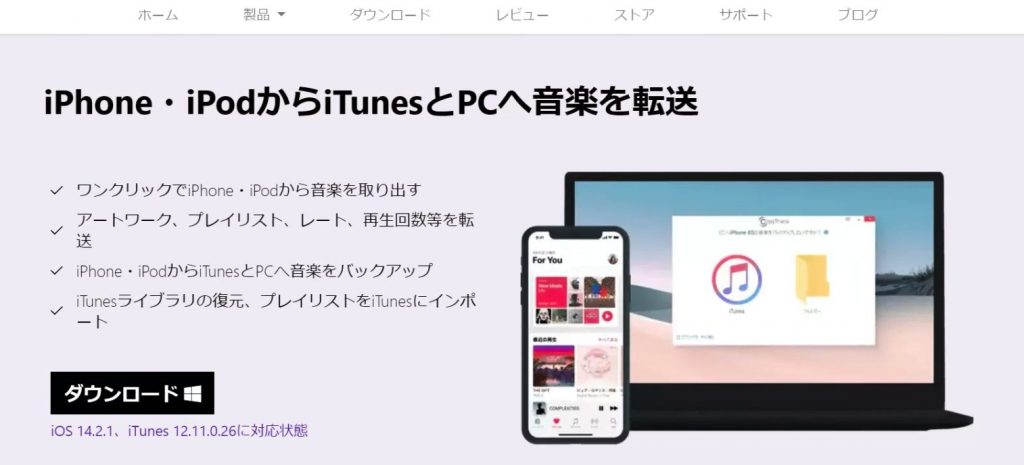
ダウンロードできました!

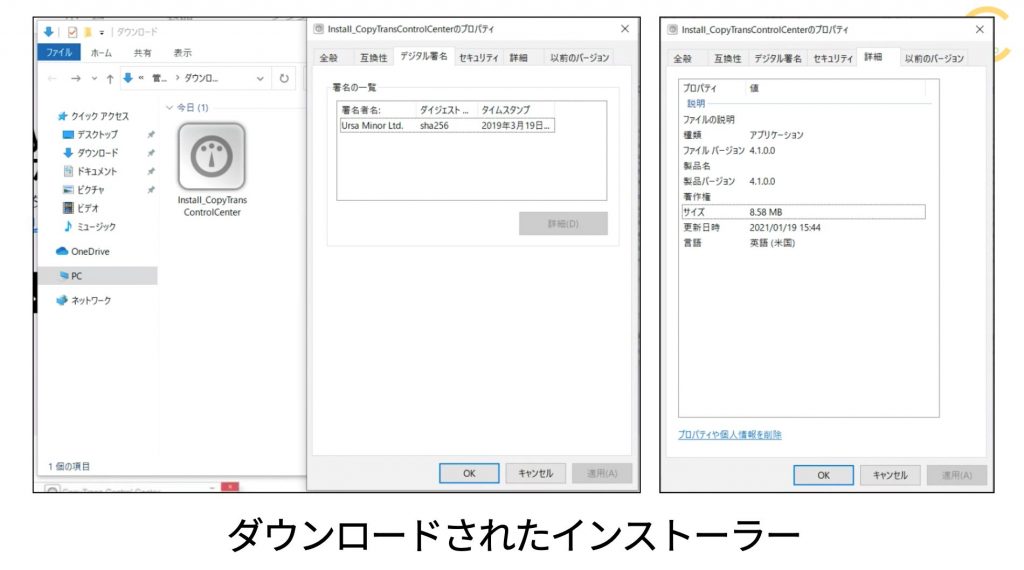
ダウンロードされた「Install_CopyTransControlCenter.exe」のファイル情報はこちら。
2.1. Control Center をインストールする
インストーラーを起動します。
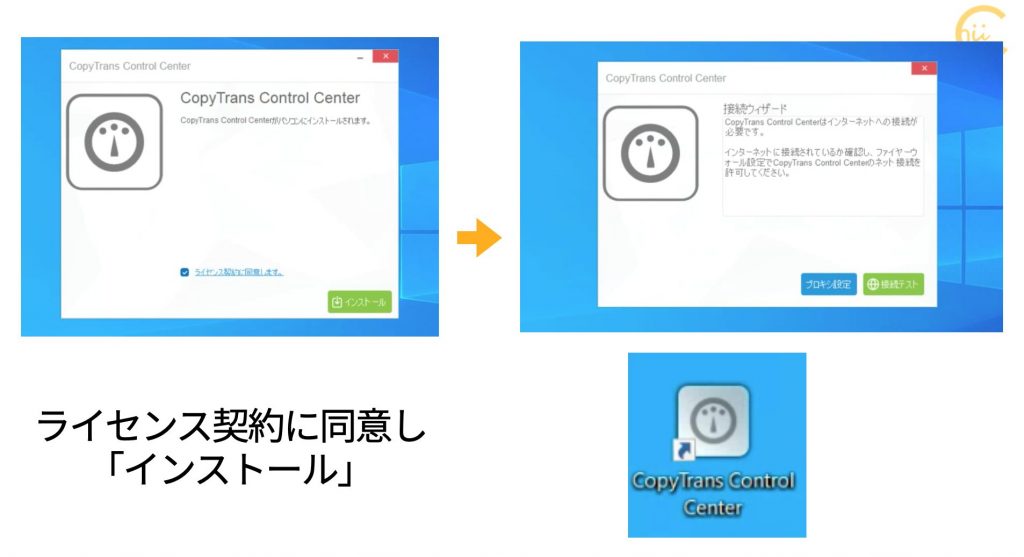
インストールすると、「接続ウィザード」という画面になります。
「接続テスト」をクリックすると、「ファイヤーウォールの許可をしてください」というメッセージが表示されました。
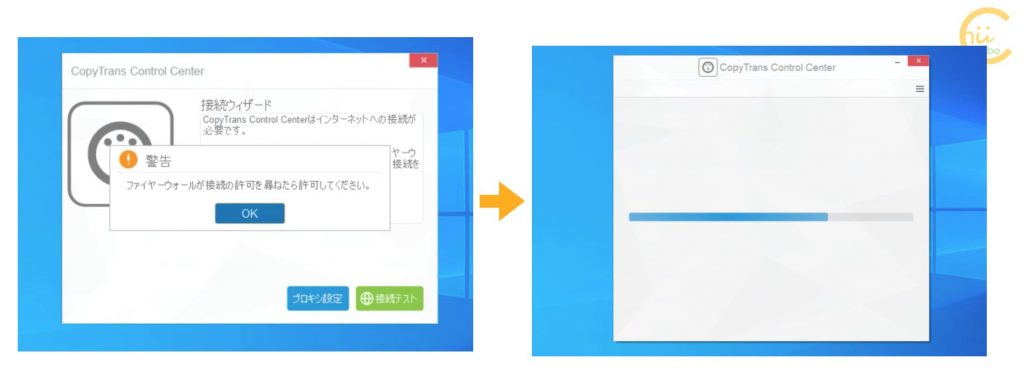
わたしの場合は、とくにブロックされることなく、そのまま接続確認できました。
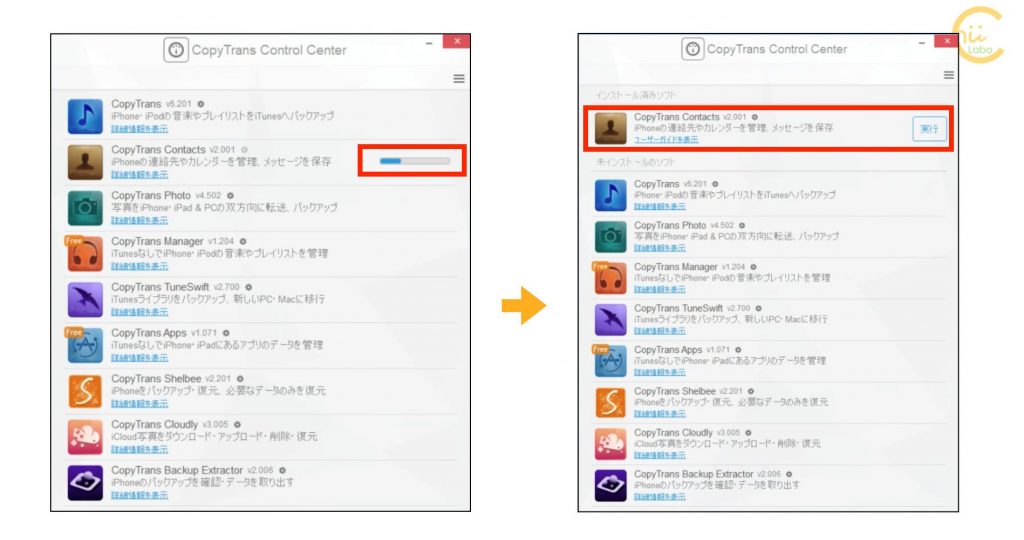
ソフトを選んでインストールする画面です。
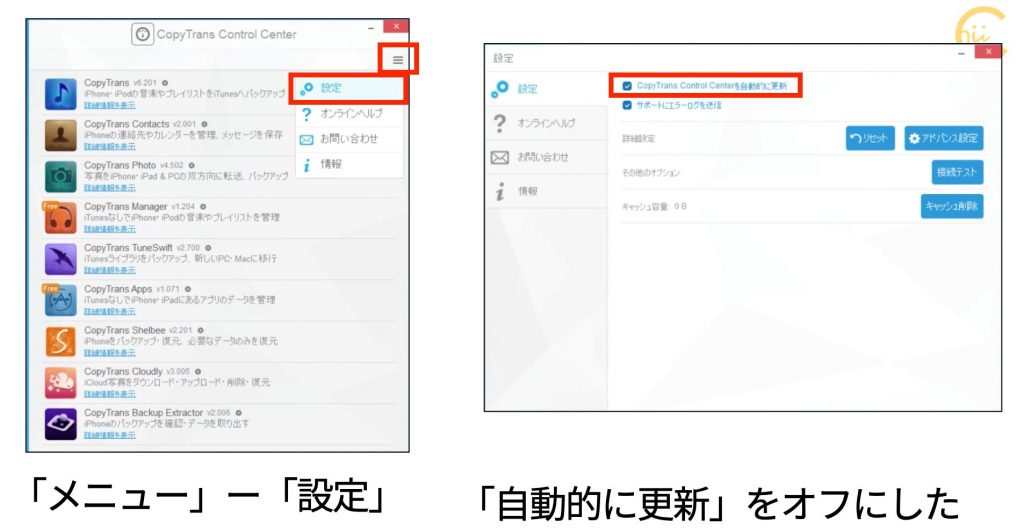
ちなみに、勝手にソフトの更新情報を取得しにいかないように、「設定」から「CopyTrans Control Centerを自動的に更新」をオフにしました。
2.2. CopyTrans Contacts をインストールする
ソフト名の横の歯車マークを押してみると、「旧バージョン」もインストールできるようです。

今回は、そのままCopyTrans Contactsの最新版(v2.001)をインストールしました。
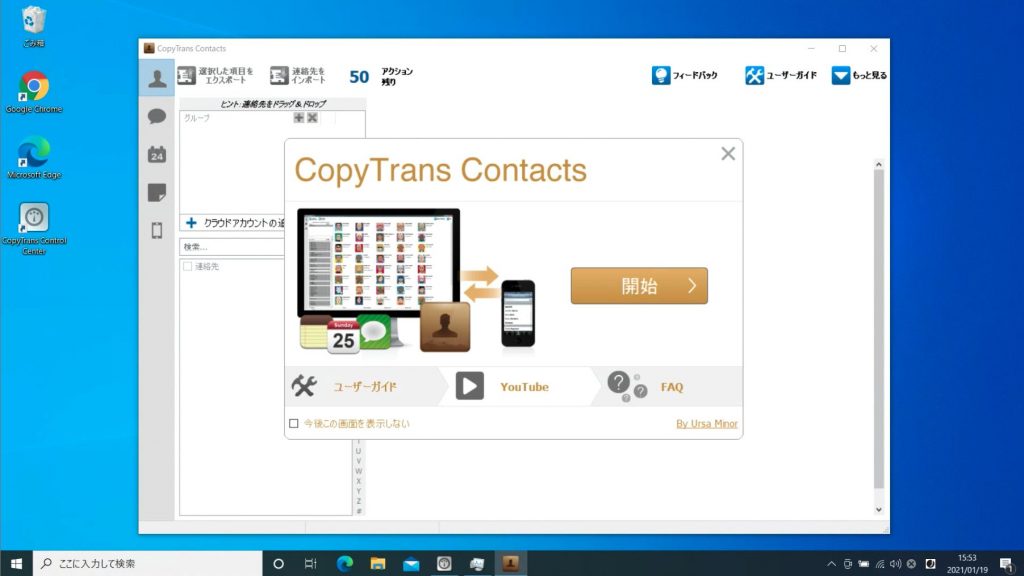
2.3. CopyTrans Contacts を起動する
Contactsの起動も、Control Centerからです。
起動するためのソフトを「ランチャー」といいます。
Control Center は、Contacts のランチャーです。
「実行」ボタンを押すと、CopyTrans Contacts を起動することができました。
続きは、まだ次回。