
Cocoonには商品紹介のショートコードがあります。
これまでは手動でAmazonアソシエイトツールバーでリンクを取得していたんですが、これがまぁ大変。
ショートコードを利用するとISDNなどの商品コードだけで画像や商品名を表示することできることに気づきました。
1. これまでのやり方は大変だった
見出しやボタンを組み合わせて、作っていました。

画像リンクやテキストリンクなどをコピーしてくるのに、かなり時間がかかります。
それを、こんなふうにしました。
見た目にもコンパクトだし、何よりも気軽に使えます
2. APIの設定をする
事前の設定は、cocoonの設定のAPIからです。
AmazonのAPIキーを取得して入力します。
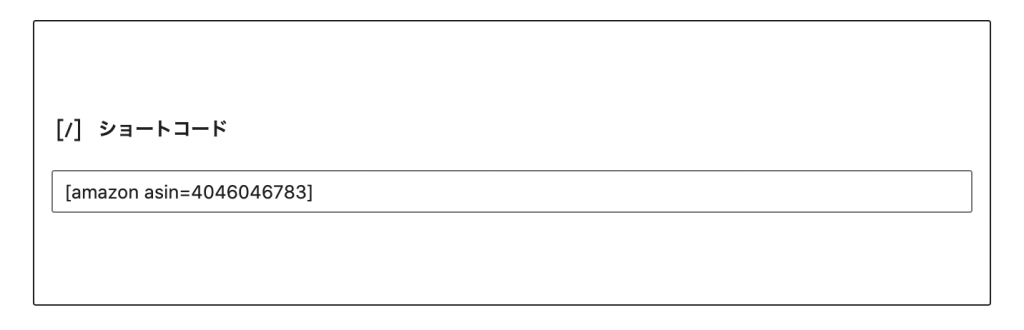
あとは、投稿の中にショートコードから [amazon asin=***]のように挿入できます。
この***は、書籍の場合は、10桁のISBNを入力します。
例えば、「ISBN10:4046046783」というのをAmazonの商品紹介ページで確認してきます(書籍はISBNだけど、商品はASINというコードがある)。
で、↓こうなります。
3. スタイルシートをブログカード風にした
ついでに商品紹介のスタイルをブログカードのデザインに寄せてみました。
もとはこんな感じでした。

ブログカードのように、画像を右にしてみました。

商品画像を右にするのに苦労しました。

/*amazon*/

.product-item-box {
  padding: 1.6% 2.2% 2%;
  width: 100%;
  margin-top: 10px;
  border: 1px solid #f9c00d;
  border-radius: 4px;
}

.product-item-error {
  display: none;
}

.product-item-thumb {
  position: relative;
  float: right !IMPORTANT;
  margin-left: auto;
  margin-right: 0 !important;
}

.product-item-thumb a {
  margin: 0 !important;
}

.product-item-thumb img {
  margin-left: auto !important;
  margin-right: auto !important;
}

@media screen and (min-width: 769px) {
  .product-item-box {
    display: block !IMPORTANT;
  }
  .product-item-content {
    padding-left: 0;
  }
}

.product-item-content {
  display: block;
  position: relative;
  margin: 0;
}

.product-item-title a {
  margin-top: 8px;
  font-size: 18px;
  font-weight: 600;
  color: black;
  text-decoration-line: none;
}

@media screen and (max-width: 1023px) {
  .product-item-title a {
    font-size: 16px;
  }
}

.product-item-snippet {
  font-size: 14px;
}4. Amazonショートコードのよく使うカスタマイズ
例
4.1. そのまま

4.2. タイトルを短く、商品説明を削除

4.3. タイトルのみのテキストリンク

こちらもどうぞ。
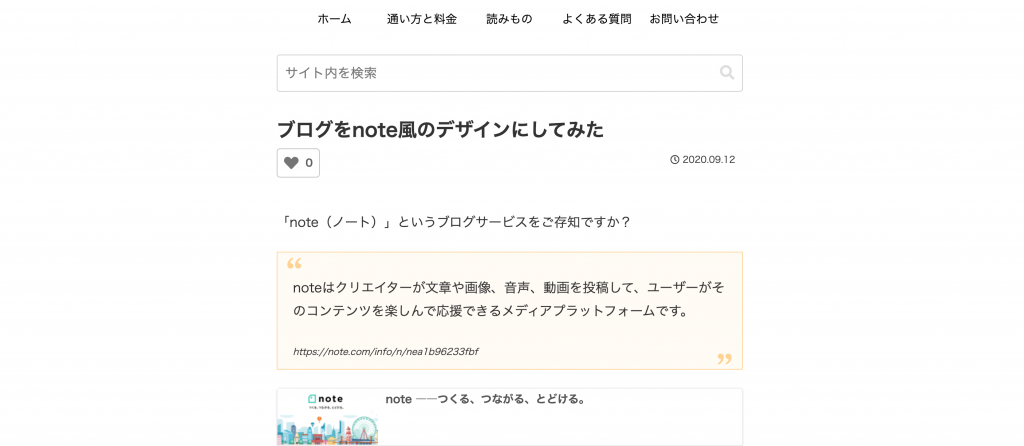
ブログをnote風のデザインにしてみた(ワンカラムデザイン)
今回はCocoonとCSSを使って、note風のシンプルなブログデザインに変更してみました。note風デザインの記事一覧「note(ノート)」というブログサービスをご存知ですか?ブログサービスといえば、ヤフーブログ、アメブロ、はてなブログといろいろありますが、noteの特徴は簡単にいえば、投稿されたブログにカンパしたり、有料記事として公開することができること。でも、それ以上にnoteの特徴になっているのは、シンプルなデザインだと思います。2カラムのアメブロと比べてみますと…パ...
chiilabo.com
見出しに吹き出しをつけるスタイルをやめた
見出しに吹き出しつけるCSSを入れていたんですが、やめることにしました。こんな見た目でした/** 見出しに吹き出しをつける */@media screen { #container h2 { position: relative; padding: 0.6em 1em !IMPORTANT; } #container h2:not(.entry-card-title):not(.related-entry-heading):after { position: absolute...
chiilabo.com
QRコードを読み込むと、関連記事を確認できます。